Add a Module to an Android Project
In this article, we will take a look at creating a new module and adding it to our project. First, create a new project or open an existing project.
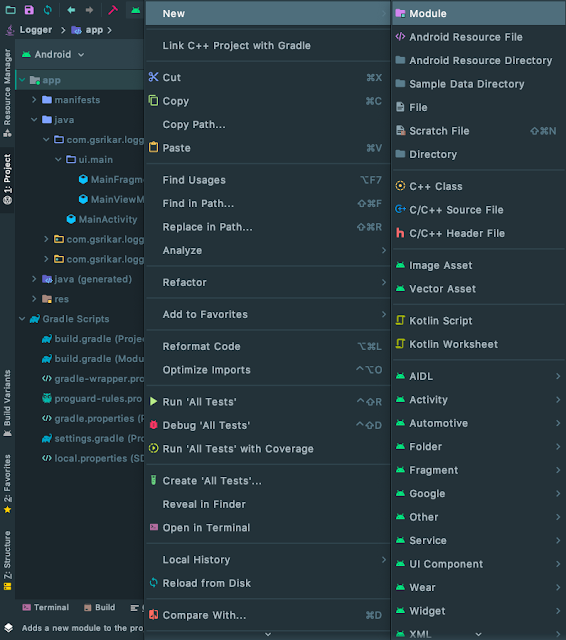
Right-click or tap with two fingers on the app module or the project. This opens an options menu where we need to click on New and then on Module option in order to start the process of creating a module.
The other way to start the module creation process is by clicking on the File menu in the top bar, hovering over New option and then clicking on the New Module option.
Clicking on the New Module option opens a window where we need to select the Module type. Select the preferred module type based on feature development. For example, we can select the Android Library type if we are building a library, the Android TV Module if we want to expand our app to be available on TV, the Dynamic Feature Module if we want the feature to be available upon user request and not bloat the app size when packaging.
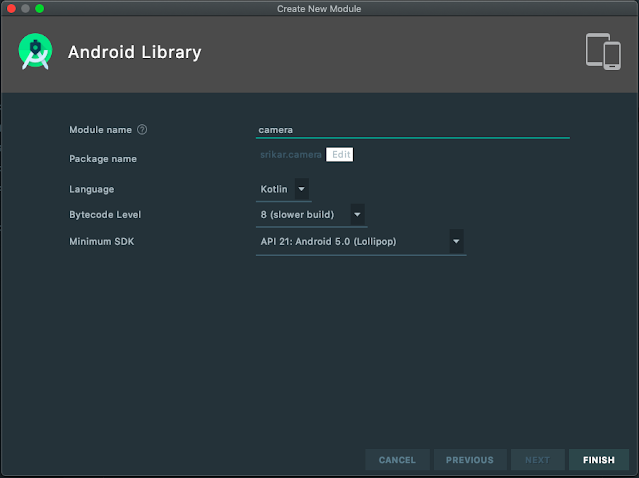
In the next window, we have to enter the name of the module. In addition to the Module name, we can change the Package name, preferred Language to be used in the module and the minimum SDK level.

In case, we want the module to be a submodule instead of a separate module, we have to enter the name as shown in the below image. The first half of the name will be the existing module and the second half will be the new submodule name and both separated by a colon.
Once the fields are either filled or selected, click Finish to create the module. If we have enabled git, we will be asked to add the generated files to git.
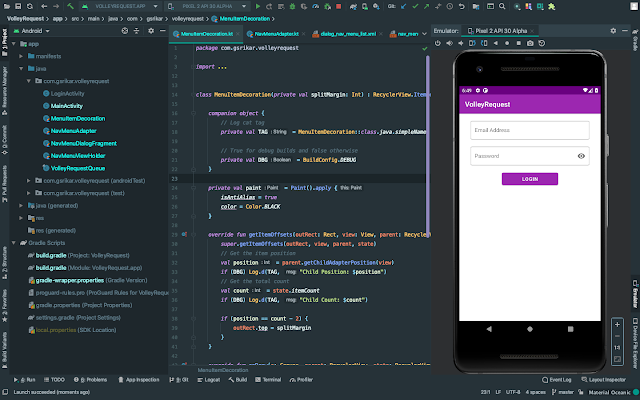
Once we click add, the files will be added to the Git and Gradle sync will get triggered. We can now access the contents of the module in the project pane.


