Create Your First Android Project with Kotlin
Building Android apps with Kotlin is as simple as selecting an option when creating a project. For this you need Android Studio 3.0.
2) Here in the Create New Project window, you have to select the Include Kotlin Support option at the bottom.
Create a Kotlin Project:
1) Start a new project as you usually you do with Android Studio.2) Here in the Create New Project window, you have to select the Include Kotlin Support option at the bottom.
3) The rest of the steps (selecting the SDK version, Selecting your starter activity and customizing it) remains the same.
4) Finally, click finish to create your first Kotlin project.
2)
3) A classpath was added to the project level
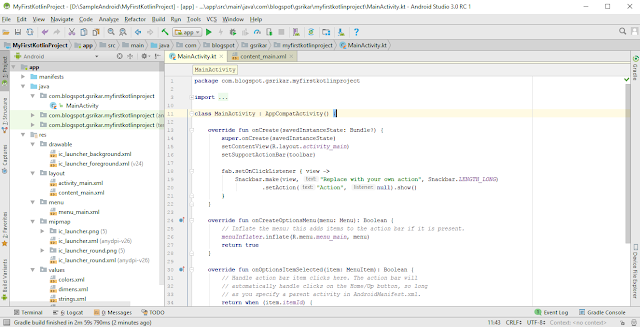
Now, explore the code in the
Changes happened compared to Java project:
1) Instead of creatingMainActivity.java, the IDE now creates MainActivity.kt file.2)
kotlin-android, kotlin-android-extensions plugins and appropriate dependency were added to the module level build.gradle file.apply plugin: 'kotlin-android' apply plugin: 'kotlin-android-extensions' dependencies { implementation "org.jetbrains.kotlin:kotlin-stdlib-jre7:$kotlin_version" }
3) A classpath was added to the project level
build.gradle fileclasspath "org.jetbrains.kotlin:kotlin-gradle-plugin:$kotlin_version
Now, explore the code in the
MainActivity.kt and draw comparisons with the MainActivity.java. In the upcoming tutorials, we will familiarize ourselves with Kotlin by writing the code.


